The Best Way To Paint A Ceiling
Painting a ceiling can be an intimidating task, especially because you hear horror stories from friends who have practically broken their neck and back, looking up for hours with nothing but a paint brush or a short-handle roller.
But with the right tools and techniques, you can easily transform your ceilings in a flash, without all the aches and pains!
We’ll cover which materials and supplies you need, how to properly prepare the room before painting and step-by-step instructions on how to get the perfect finish.
Whether it’s your first time painting a ceiling or you’re looking for tips on how to improve your technique, this guide has got you covered!
What is the Ideal Paint for Ceilings?
When you’re ready to pick out a ceiling paint, it’s important to choose one that offers great coverage. The better the coverage, the less you have to get up those ladders!
Look for paints specifically formulated for ceilings like latex-based flat or low-luster finishes. These types of paint are durable enough to withstand the wear and tear of regular cleaning and still give you a beautiful finish.
Additionally, a one coat celing paint, like our One Home Paint gets the job done in half the time so you can put your feet up sooner and admire a job well done!
The Tools You Need to Paint a Ceiling
Painting a ceiling isn’t as complicated as it seems. With the right tools, you’ll have an easier time working on your project and get better results in less time. Here’s what you’ll need:
– Ladder: To reach higher ceilings, you’ll need a sturdy ladder that can safely hold your weight while painting.
– Dropcloth or plastic overalls: A dropcloth or plastic sheeting will help protect the floor from any drips or spills.
– Long paint roller & tray: You’ll need to choose the right size paint roller for your surface and use it with a paint tray for easy application. If you want to avoid ladders for the most part, opt for a long roller pole so you can reach the celing while standing firmly on the floor.
– Painter’s tape & tarps: Use painter’s tape to cover edges or trim and tarps to cover any furniture or appliances you don’t want paint on.
Choosing Your Paint Finish
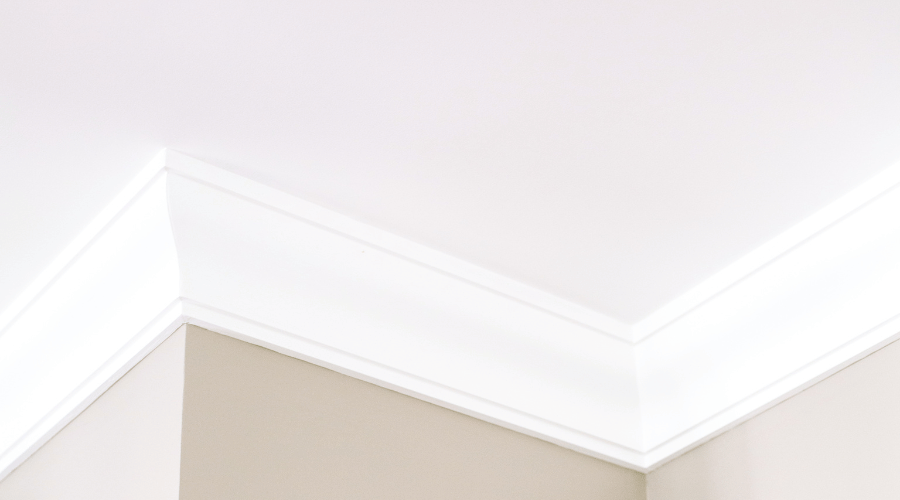
When painting a ceiling, the type of finish you choose can make a big difference in the look and feel of the room. Matt paint gives your ceiling a flat, non-reflective look that won’t attract much attention, while satin and gloss finishes will add some shine to your ceiling which can create different atmospheres in your home.
Matte paint is the most popular choice for ceilings as it easily covers imperfections and does not reflect light, helping to keep the focus on other features in the room. Matt ceiling paints are also easy to clean and very durable, making them ideal for high-traffic areas or rooms with kids or pets.
Satin finishes are slightly shinier than matte paints but still have a low sheen that won’t be too reflective. The subtle shine from satin finishes helps to brighten up a room and adds dimension to walls and ceilings. They also offer more protection against scratches and dirt than matte paints do, making them suitable for busy family homes or those with active children.
Gloss finishes are extremely shiny and reflective which makes them perfect for highlighting special features like trim work or architectural details on your ceilings. This type of finish is best used sparingly as it can be quite overpowering if used over large areas such as an entire ceiling. Gloss finishes are also more prone to fingerprints and dirt than other types of paint so they should be avoided in high traffic areas or those with young children.
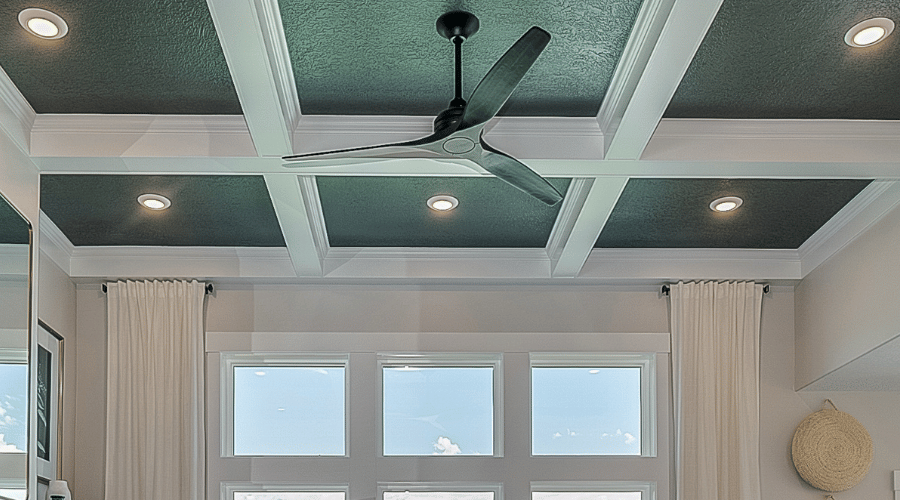
Choosing Your Colours
Light colors on ceilings, such as white and off-white, can create a light and airy atmosphere in homes. The reflective properties of these lighter colors also help to make a room appear larger. However, by using darker colors on the ceiling, you can instantly create a feeling of intimacy and warmth in your home. Darker colors tend to draw the eye upward and make the space feel smaller, but more cozy.
When choosing the color for your ceiling, it’s important to consider the style of your home interior. If you want to create an open and spacious look, lighter colors are best suited for this effect. White paint is ideal for minimalistic modern homes that emphasize airy spaces and natural light.
Lighter off-white shades such as beige or pale gray can add texture to a room without making it seem too dark or dreary. In traditional interiors with wood paneled walls and ornate details, cream or ivory can enhance this aesthetic without detracting from these features.
On the other hand, when going for a more sophisticated atmosphere in your home, opt for richer hues like navy blue or deep grey. These deeper hues can be used sparingly as an accent wall or go more bold with larger areas of coverage on ceilings and even walls throughout the room.
Darker shades work especially well in contemporary spaces that feature natural materials like stone or exposed beams as they bring out the depth and richness of these elements while creating a sense of comfort at the same time.
In conclusion, painting the ceiling is no simple task, but with a few supplies and careful attention to detail, you can give your ceiling a professional looking paint job that will last for years. By taking your time, applying even coats of paint and being mindful of how much paint to use, you can be sure that your ceiling looks its best!
How to Paint a Ceiling Step by Step
Now that you’ve got the right paint, it’s time to get to work. Here are the steps for painting a ceiling:
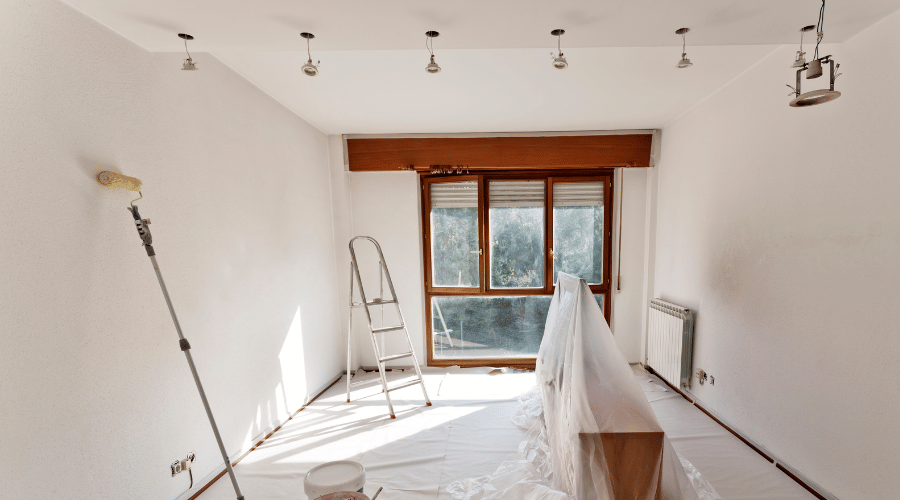
1. Prep the Room
Before you start painting, make sure the room is properly prepared. Remove any furniture or large items from the room and cover anything else with plastic sheeting or drop cloths. Use painter’s tape to secure these in place and protect them from paint splatters. Also, open windows and doors if possible to help ventilation of painting fumes.
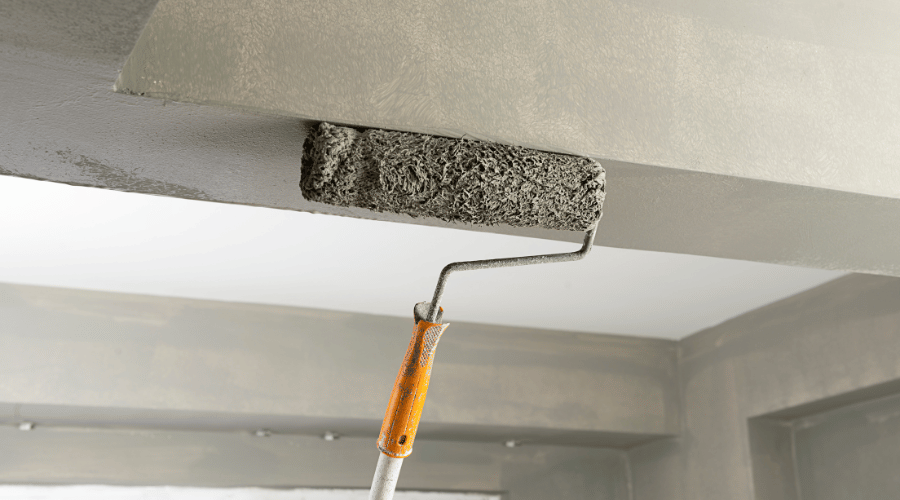
2. Prime Surfaces
Priming surfaces before painting helps ensure that your new coat of paint adheres better and lasts longer. If you’re using latex-based paint, use a water-based primer. For oil-based paint, use an oil-based primer.
Note: Rainbow Chalk’s Paint Ranges don’t require the use of primer!! That’s because we formulated the primer into the paint for extra coverage and a durable finish.
3. Paint the Ceiling
Without further ado, you can get painting! Start by cutting in around edges with a brush to make sure your lines are straight and neat. Then use a roller for larger areas of the ceiling. To avoid lap marks, always roll in one direction until you’ve covered the entire surface before rolling back over that same area again. Make sure to remove any excess paint right away if you do get any splatters on walls or furniture.
4. Inspect and Touch Up
Once you’re finished painting, inspect your work and touch up any blemishes if necessary.