How To Paint A Radiator: A Detailed Guide For A Professional Finish
Note: This is a detailed in-depth guide, so we’ve included a contents table below so you can skip straight to the parts you need. Happy reading!
- 1) Understanding Radiator Paint Requirments
- 2) Common Difficulties When Painting Radiators
- 3) Essential Tools and Materials for Painting a Radiator
- 4) Selecting the Perfect Paint Finish for Radiators
- 5) Preparation: The Key to a Perfect Finish When Painting Radiators
- 6) Application Process: How to Paint Your Radiator with Rainbow One Paint
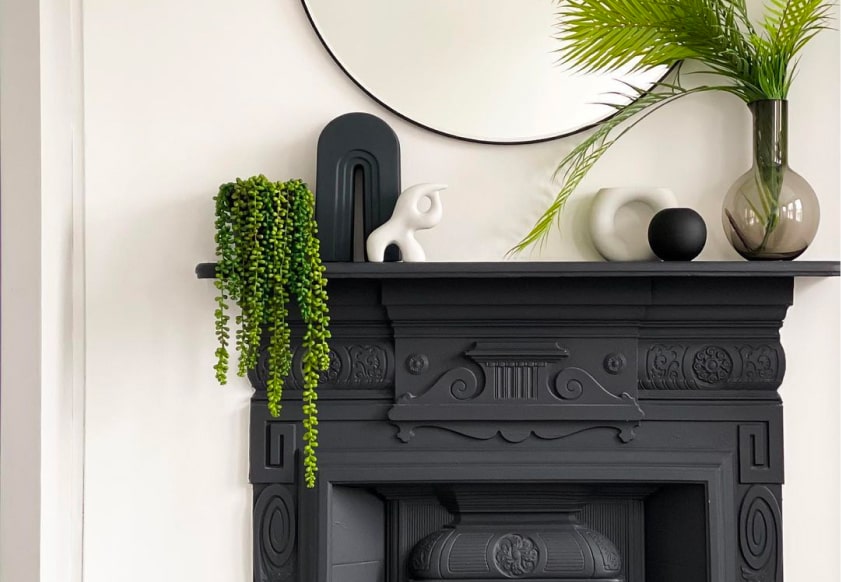
Welcome to the world of DIY home improvement! If you’re looking to refresh your space without embarking on a massive renovation project, painting your radiator can be an excellent place to start. Not only does this simple upgrade enhance the overall aesthetic of any room, but it also helps protect and extend the life of your heating elements. With the right paint, a little bit of time, and some elbow grease, you can transform an old, dingy radiator into a stunning statement piece or a seamlessly integrated part of your home decor.
In this comprehensive guide, we’ll walk you through every step of painting your radiator, from selecting the perfect paint to applying it for a flawless finish. We’ll be using our Rainbow One Paint, a versatile, multi-purpose paint that’s ideal for both exterior and interior surfaces—including the high-heat environment of your radiator. Known for its durability and beautiful finish, the One Paint simplifies the painting process by acting as both paint and primer in one, ensuring that your radiator not only looks great but stands up to the test of time.
Whether you’re a seasoned DIY enthusiast or a first-timer looking to tackle your first project, this guide will provide all the information you need to achieve professional-quality results. So grab your supplies, and let’s get started on transforming your radiator into a beautiful part of your home’s interior.
1) Understanding Radiator Paint Requirements
Before you pick up a brush, it’s essential to understand why painting a radiator requires special consideration. Not all paints are suitable for this task, mainly due to the unique environment the radiator operates in. Here’s what you need to keep in mind:
Heat Resistance
Radiators generate a lot of heat, which can cause standard paints to crack, discolor, or peel over time. The paint you choose must be capable of withstanding continuous heat exposure without deteriorating. Heat-resistant paints are specifically formulated to endure the high temperatures that radiators emit, maintaining their color and finish even after many heating cycles.
Durability
Radiators are often subjected to more than just heat. In high-traffic areas, they might get bumped or scratched. The paint must be tough enough to handle minor impacts and resist wear and tear. A durable paint ensures that your radiator continues to look good without requiring frequent touch-ups.
Safety
Consider the safety aspect of the paint. Some paints emit harmful fumes when heated, especially if they contain volatile organic compounds (VOCs). Opt for a paint that is low in VOCs and designed to be safe for use on heat-emitting appliances. This ensures better air quality in your home while the heating is on.
Understanding these requirements is crucial for selecting the right paint that will not only look good but also perform well on your radiator.
The One Paint, designed as a multi-purpose, durable, and heat-resistant solution, checks all these boxes, making it an excellent choice for your radiator painting project.
2) Common Difficulties When Painting Radiators
Painting a radiator might seem straightforward, but several common challenges can arise, especially for those new to DIY projects. Being aware of these potential pitfalls and knowing how to manage them can help ensure a smooth and successful painting process.
Accessing Hard-to-Reach Areas
Radiators often have intricate designs and hard-to-reach areas that can make thorough coverage difficult. The convectors and fins are particularly challenging as they require detailed work to ensure complete coverage without accumulating excess paint, which can lead to drips and uneven finishes.
Ensuring Even Coverage
Achieving an even coat of paint on a radiator is crucial for a professional appearance. However, due to the vertical nature and complex structure of most radiators, it’s easy to miss spots or apply paint unevenly. This can result in a patchy look that might necessitate additional coats, complicating what might otherwise be a simple job.
Avoiding Drips and Runs
Because radiators require a specific type of paint that is often thicker than regular wall paint, managing drips and runs becomes an essential skill. These issues are not just aesthetic but can also affect the radiator’s heat output if the paint layers are too thick or uneven.
Dealing with Rust and Old Paint
Older radiators might have layers of old paint or rust, which need to be addressed before applying new paint. Removing rust and stripping old paint can be labor-intensive and requires careful preparation to ensure the new paint adheres well and looks good.
Tips for Overcoming These Difficulties
Use the Right Tools: Invest in a high-quality angled brush for reaching into deep or narrow spaces between radiator fins. A small roller can also be useful for covering larger flat areas more quickly and evenly.
Prepare the Surface Thoroughly: Before painting, clean the radiator thoroughly to remove dust and dirt. If there is existing rust or flaking paint, sand these areas down and apply a suitable rust inhibitor if necessary. Ensuring the surface is smooth and clean will aid in better paint adhesion and a smoother finish.
Apply Paint Methodically: Start from the top of the radiator and work your way down to prevent drips from spoiling your finished work. Use a light touch, and don’t overload the brush or roller to avoid excessive paint application that leads to runs.
Allow Sufficient Drying Time: Between coats, make sure the paint is completely dry. Rushing this process can result in a sticky, tacky finish that may not be durable over time.
Understanding these challenges and preparing to address them will make the task of painting your radiator much less daunting. Using Rainbow One Paint, with its superior coverage and ease of application, further helps to mitigate these common issues, ensuring a smooth and successful radiator transformation.
3) Essential Tools and Materials for Painting a Radiator
To ensure a smooth and successful radiator painting project, having the right tools and materials is crucial. Here’s a list of what you’ll need to achieve the best results with Rainbow One Paint:
Tools and Materials List:
- Rainbow One Paint: Specifically formulated for radiators, offering durability and heat resistance.
- High-Quality Brushes: Angled brushes are particularly useful for reaching into the radiator’s crevices and detailed areas.
- Small Foam Roller: Helps achieve a smooth, even finish on flat surfaces.
- Sandpaper (Medium and Fine Grit): Used for sanding down rough spots, old paint, or rust.
- Rust Inhibitor: If the radiator has rust issues, a rust inhibitor will prepare the surface for painting.
- Clean Cloths: For wiping down the radiator after sanding and before painting.
- Drop Cloths or Newspaper: To protect surrounding areas from paint spills.
- Masking Tape: Useful for covering any parts that you do not wish to paint, such as valves.
- Safety Gear: Gloves, goggles, and a mask, especially if sanding or working in a poorly ventilated area.
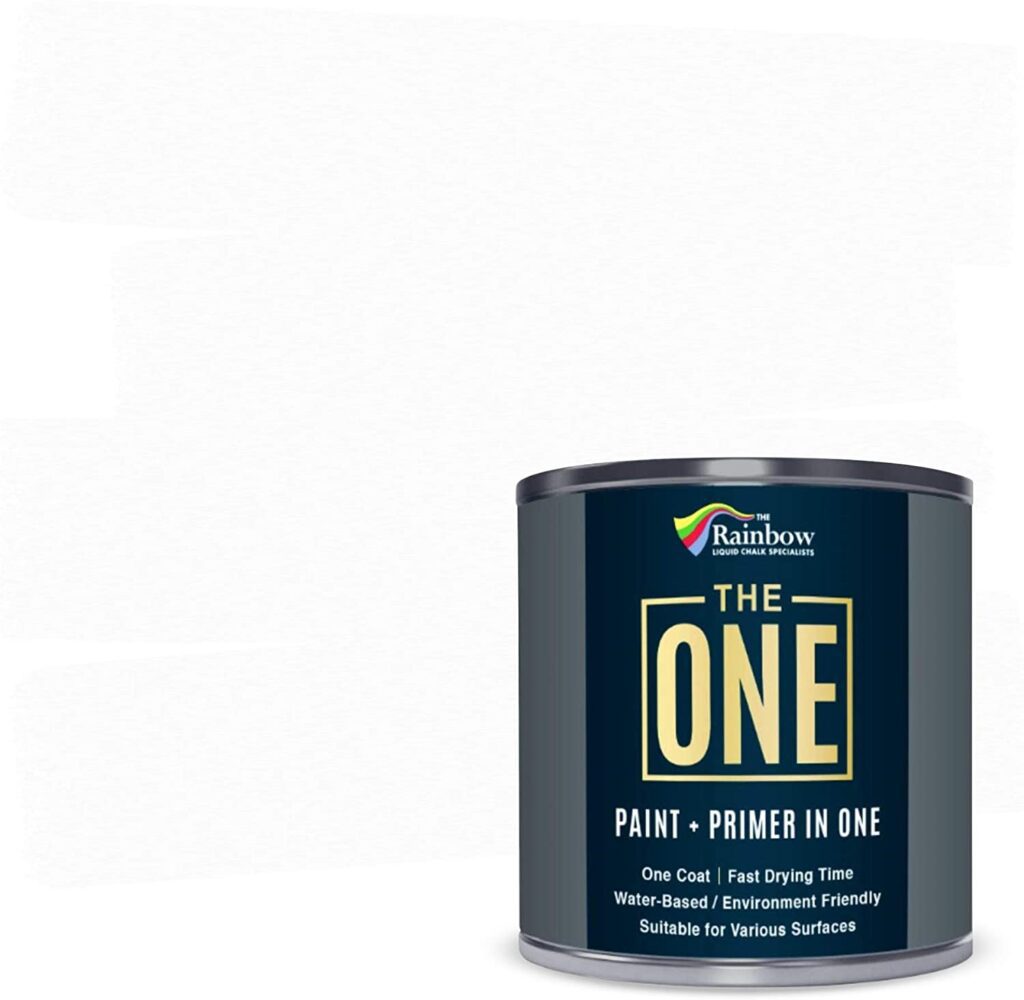
The One Paint White
Preparing Your Tools and Workspace
Before you begin painting, it’s important to set up your workspace properly:
- Ventilation: Ensure the room is well-ventilated to avoid inhaling fumes, particularly important when using paints that emit low levels of VOCs.
- Protective Covering: Use drop cloths or newspapers to cover the floor around the radiator and any nearby furniture to protect against accidental spills.
- Surface Preparation: Have your sanding materials ready to smooth out the radiator surface, and use clean cloths to remove any dust or debris.
- Masking: Apply masking tape to any areas you do not want to paint, such as heating valves or exposed pipework, to ensure clean lines and a professional finish.
Tips for Using Your Tools Effectively
- Brushes: Use the angled brush to paint the edges and hard-to-reach areas first, then fill in the larger surfaces. This technique helps prevent drips and ensures complete coverage.
- Roller: Use the roller on flat surfaces for a quick and smooth finish. Be careful not to overload it with paint to avoid drips.
- Sandpaper: Start with a medium grit to remove any larger imperfections or rust, then finish with a fine grit to create a smooth surface that will help the paint adhere better.
By assembling the right tools and preparing your workspace and materials properly, you are setting the stage for a successful radiator painting project. Using Rainbow One Paint, with its superior coverage and ease of use, will make the process even smoother, helping you achieve a professional-quality finish that rejuvenates your space.
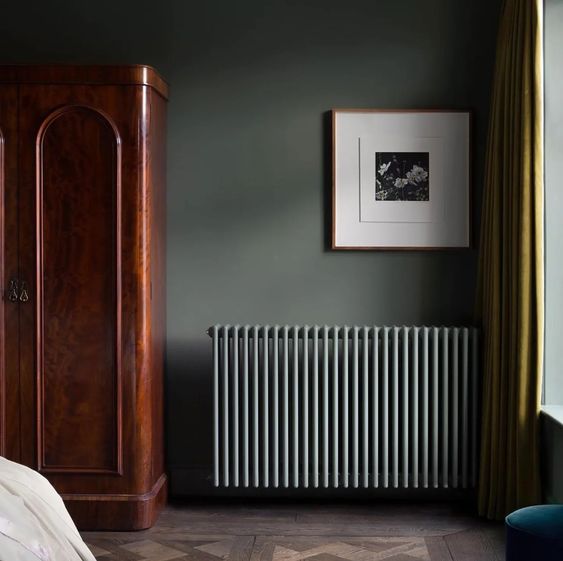
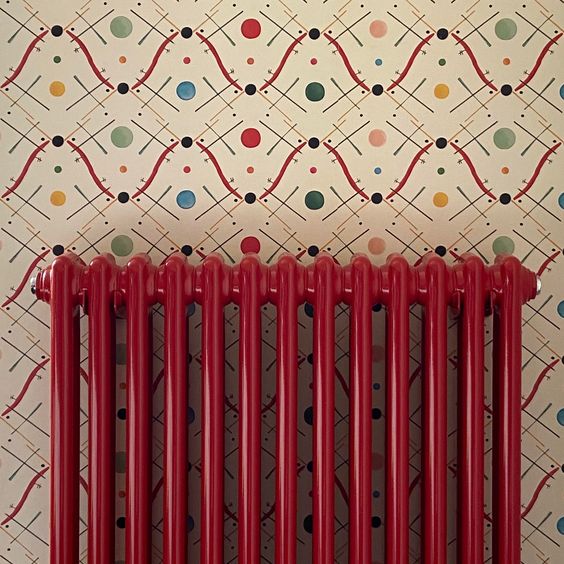
4) Selecting the Perfect Paint Finish for Radiators
The finish of the paint you choose for your radiator not only affects the appearance but also plays a crucial role in the longevity and maintenance of the paint job. Here’s how to select the best paint finish for your radiator:
Understanding Paint Finishes
Paint finishes range from matte to high gloss, each offering different visual effects and practical benefits:
- Matte: Provides a non-reflective surface that hides imperfections well, but it can be more susceptible to damage and harder to clean.
- Satin: Offers a slight sheen that is less glossy than semi-gloss, providing a good balance of easy cleaning and moderate shine. It hides imperfections better than higher gloss finishes and is more durable than matte.
- Semi-Gloss: Highly durable and easy to clean, making it ideal for areas that require frequent wiping down. The shine reflects light, helping to make small spaces appear larger.
- Gloss: The most durable and easiest to clean, gloss finishes are perfect for high-use areas. However, they will highlight surface imperfections, so thorough preparation is crucial.
We recommend using a gloss finish for ease of cleaning, especially if you use your radiators to directly dry clothes washing.
5) Preparation: The Key to a Perfect Finish When Painting Radiators
Proper preparation is crucial for achieving a flawless finish when painting your radiator. Here’s how to ensure your radiator is ready for a fresh coat of Rainbow One Paint:
Cleaning the Radiator
- Start by dusting off the radiator to remove any loose dirt. Use a vacuum if necessary, especially between the fins.
- Wipe down the surface with a degreaser or soapy water to remove any oily residues. Ensure the radiator is completely dry before you begin painting.
Sanding the Surface
- Use medium-grit sandpaper to sand down rough patches or flaking paint. Follow up with fine-grit sandpaper to smooth the surface thoroughly.
- Ensure that all surfaces are evenly sanded to prevent the new paint from sinking into deeper spots and creating an uneven finish.
Applying Rust Inhibitor
- If there are any signs of rust, treat them with a rust inhibitor. This step is essential for prolonging the life of both your radiator and the paint job.
Final Wipe-Down
- Give the radiator one last wipe-down to remove any dust or particles created during the sanding process. This step ensures that the paint will adhere properly and leave a smooth, clean finish.
Taking the time to thoroughly prepare your radiator for painting not only enhances the application process but also helps achieve a more durable and attractive finish. With the surface properly prepped, you’re now ready to move on to applying Rainbow One Paint, confident that the results will be nothing short of impressive.
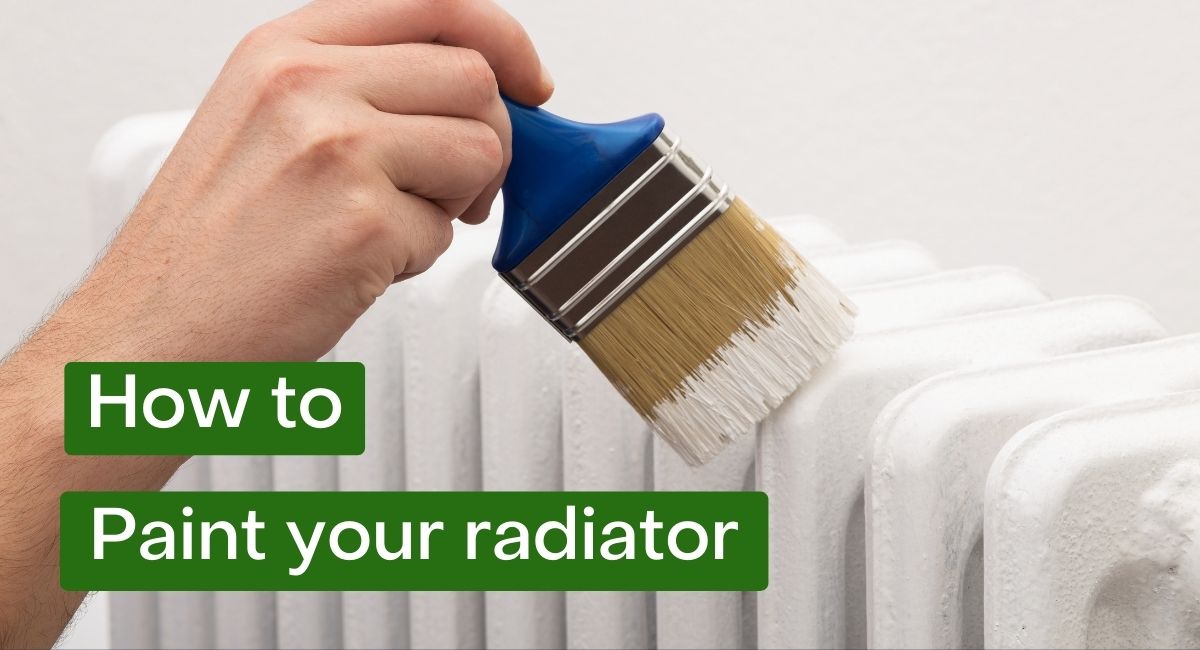
6) Application Process: How to Paint Your Radiator with Rainbow One Paint
Achieving a smooth, even finish on your radiator is straightforward with Rainbow One Paint. Follow these concise steps to ensure a professional-looking result:
Step 1: Apply the First Coat
- Technique: Start at the top of the radiator and work downwards to prevent drips. Use a small brush for edges and hard-to-reach areas and a roller for larger, flat sections.
- Even Coverage: Apply a thin, even coat to avoid runs and sags. Rainbow One Paint’s high coverage formula minimizes the need for multiple layers.
Step 2: Allow for Drying
- Drying Time: Allow the paint to dry completely, which typically takes about 2 hours for Rainbow One Paint. Ensure the room is well-ventilated to speed up the drying process.
Step 3: Apply a Second Coat (If Necessary)
- Assessment: Once the first coat is dry, check for any missed spots or uneven areas. A second coat may be needed to achieve complete coverage and a uniform finish.
- Application: Repeat the application process as in the first step, ensuring even coverage.
Step 4: Cleaning Up
- Tools: Clean your brushes and rollers with soapy water immediately after use to keep them in good condition.
- Surroundings: Remove any protective coverings and tape, and clean up any spills or splatters while the paint is still wet.
By following these steps, you’ll ensure that your radiator not only looks refreshed but also benefits from a durable finish that stands up to heat and wear. Rainbow One Paint provides a straightforward solution for radiator painting, delivering excellent results with minimal fuss.
Happy Painting!