Do you need special brushes for chalk paint?
Whether you want to upcycle your old chest of drawers with that stylish Shabby Chic look or transform your kitchen with a matte terracotta plaster effect, chalk paint can provide a great alternative to traditional household paints.
An increasingly popular finish, chalk paint is easy to apply, quick to dry and leaves a beautiful and totally unique finish that can give walls, furniture or individual household ornaments and knick-knacks a new lease of life.
The most frequently asked questions about the use of chalk paint in the UK tend to relate to its application. Specifically, whether or not you need to use a special brush when applying it and if there are particular methods that help to prevent brush strokes from appearing when painting with this material.
Can I use a regular paint brush for chalk paint?
There is no set rule that states you must use a special type of paint brush when applying chalk paint. However, as is the case when applying any type of paint, poor quality tools are likely to increase the risk of a poor quality final product. While it’s true that you don’t have to use an expensive brush, when it comes to selecting the right brush for the job, there are certain properties and characteristics that need to be considered.
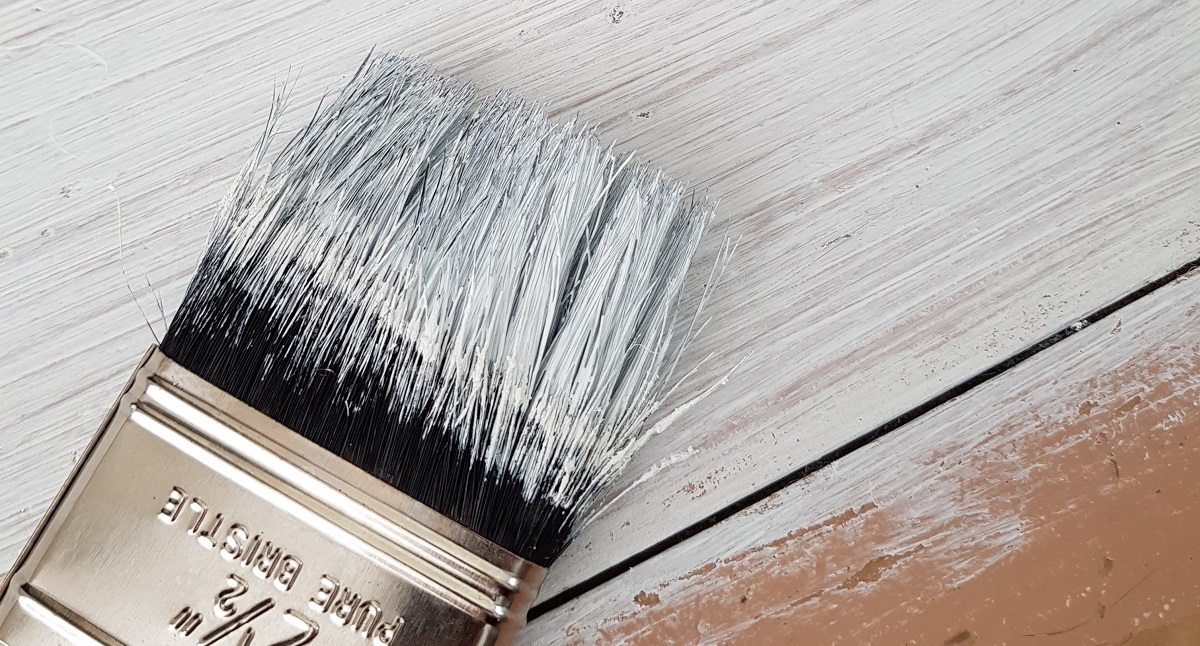
When it comes to chalk paint, a brush that is made up of natural – rather than the typically cheaper artificial – bristles will help you to achieve the best results. These bristles tend to be longer and more flexible than the artificial alternatives and allow the paint to flow easily without the finish appearing scratchy. That being said, it’s also worth remembering that using a brush that is too flexible – to the point where the bristles feel floppy in hand – is also not ideal, as this will force you to work harder to make the paint spread evenly.
Special chalk paint brushes can be found, but a regular all-purpose paint brush will usually work just as well. While rollers can also be used when applying chalk paint, it’s worth remembering that the absorbent nature of most fibre rollers means larger quantities of the paint are usually required to cover a surface when using this method.
How to apply chalk paint
Applying chalk paint to a surface – be it an old piece of furniture, kitchen cupboards or even an entire wall – is typically a quick and simple process. As a rule of thumb, one litre of chalk paint should cover around 13 metres of your chosen surface. This is approximately the equivalent of a medium-sized chest of draws or two regular nightstands. Thanks to the strong adhesive properties of this paint, it can be used on a range of different materials, including metal, wood, glass, concrete and even most textiles.
For the majority of jobs, one or two coats of chalk paint is usually enough, but you might find that you will need three coats if you are covering a dark surface with a lighter shade of paint. Even if this is the case, chalk paint dries quickly, meaning you shouldn’t have to wait too long between coats.
To get started, simply follow our step-by-step guide below:
- Start by tipping your pot of chalk paint upside down, shaking well and, after opening the pot, stirring the contents with a stick before use.
- Using your all-purpose brush, or roller for larger surfaces, apply the chalk paint liberally, painting in every direction, before leaving to dry.
- If required, apply a second coat of paint, again allowing time for it to dry before assessing whether or not a final third coat is needed.
- Once the surface is fully dry, apply clear chalk paint wax to your chosen surface using a lint-free cloth or wax brush, Make sure you cover the entire surface, getting into every nook and cranny if you’re working on a piece of furniture. It’s worth nothing that a small amount of wax can go a long way, so apply it conservatively.
- Remove any excess wax using a fresh lint-free cloth and make sure to treat your freshly painted surface with extra care while the wax cures and hardens. Typically, this can take between five and 21 days, depending on room temperature.
How to prevent brush strokes with chalk paint
While some like the unique Shabby Chic aesthetic that can be achieved through applying a thin coat of chalk paint with purposely visible brush strokes, others prefer the smooth, matte and blemishless look which can also be accomplished with this paint.
If you are looking to avoid obvious brush strokes when applying chalk paint, there are a number of tips and tricks you can try. Firstly, by adding a small amount of water to your paint and mixing it well, visible brush strokes can be minimised. When chalk paint is left with the lid off it tends to thicken, so ensure the lid of your paint pot is always firmly on when you are not using it. These simple hacks will help to maintain a thinner paint that will be easier to apply and produce fewer visible brush strokes.
It’s also a good idea to keep your brush damp when paining. Mist the bristles with water using a spray bottle before dipping it into the paint. This will aid in keeping the paint in a fluid state, helping to avoid obvious brush strokes from appearing as you paint. Similarly, spritzing your surface with water before you start painting can also help to prevent strokes from appearing. Be careful when using this method, however, as too much surface water could cause runs and blotches. Just a small amount of moisture should suffice in helping make for a smooth finish.
Finally, it’s worth remembering that if you find brush strokes or runs do appear after applying the first coat, this is not the end of the world. Simply sand the problem areas lightly using fine sandpaper or glasspaper, clean off the resulting dust using a lint-free cloth, and apply a second coat using the methods outlined above. Repeat this process until you achieve the smooth and clean-looking finish you are after.