Effective DIY Grout Cleaning Project using Rainbow Grout Pens
We’re back with none other than a fantastic customer project, courtesy of Shannon in Essex!
Shannon didn’t fancy the grout cleaning advice she found online, involving home made solutions and hours of scrubbing (we don’t blame her!), so instead she used a Rainbow Grout Pen to renovate her home for a fraction of the price and time of traditional re-grouting methods.
See the results below!
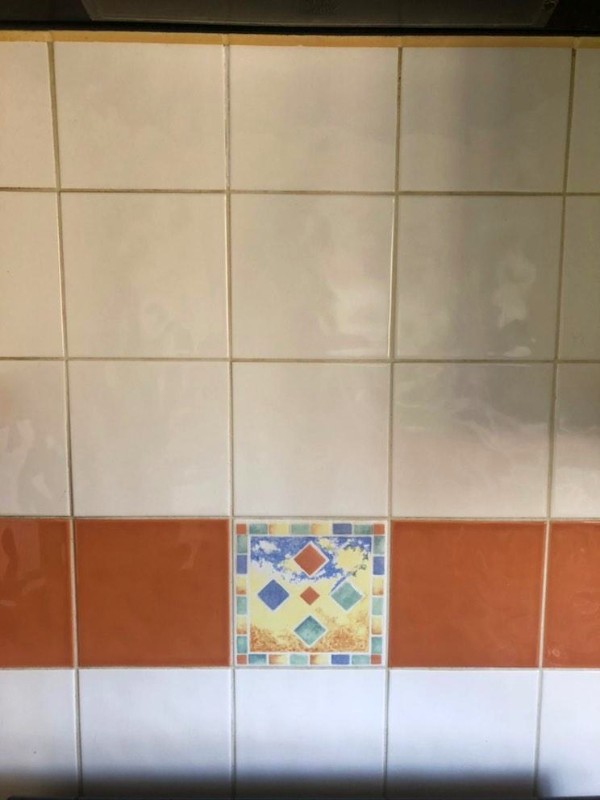
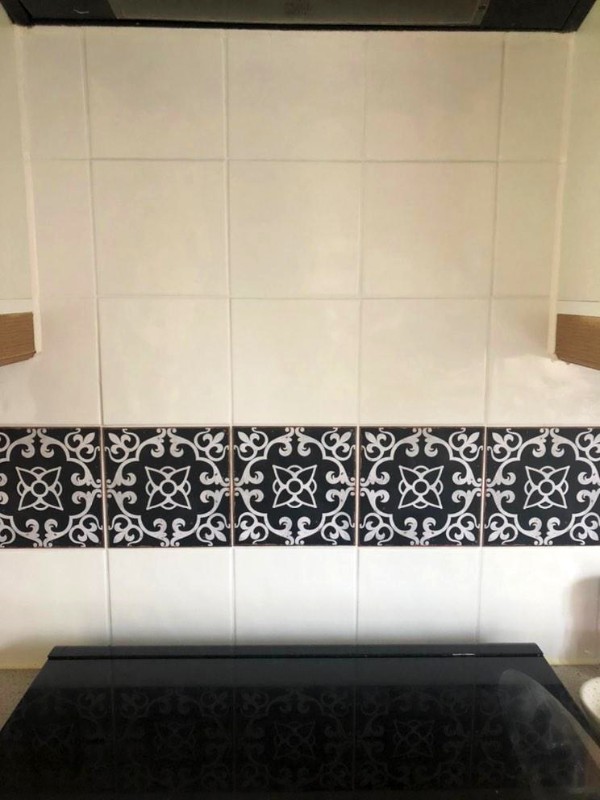
The Before. Tired, Grubby Grout
Shannon recently moved into Army housing with her partner and pup. Before getting truly settled in, there was one thing that needed addressing – the tired, grubby grout!
Although we’ve seen much worse, we can all agree it’s discoloured and could be a lot brighter.
Here’s what the kitchen area looked like before:
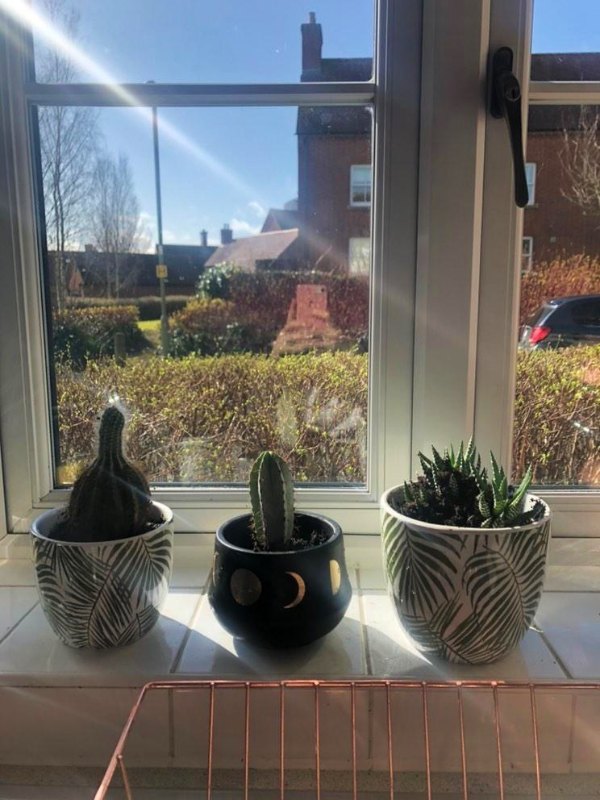
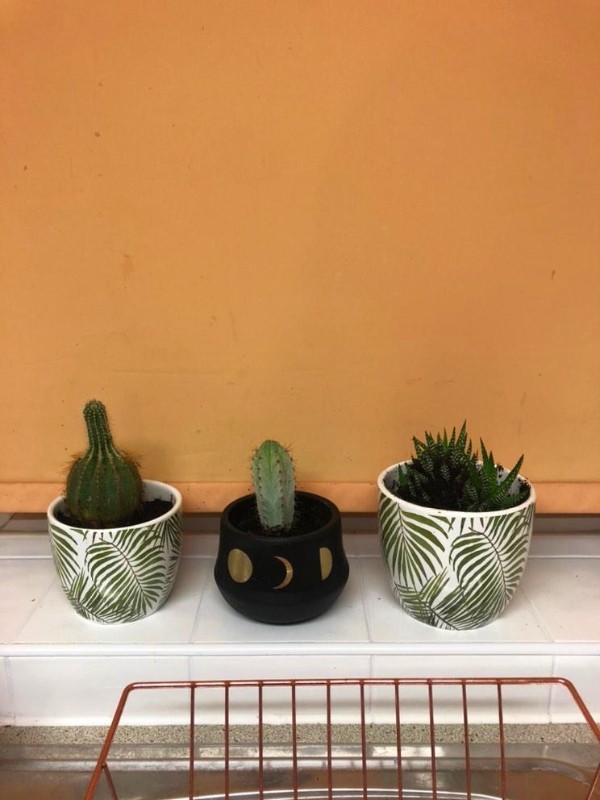
The After. Zero Effort Grout Cleaning
Within one short afternoon, Shannon had completely transformed the grout in her kitchen with the no-fuss Rainbow Grout Pen.
See the results below:
Shannon’s Thoughts
“I’m in Army Housing and my kitchen was old and in need of some TLC.
I picked a grout pen that was affordable and had good reviews on Amazon – reviews are important! I also bought some spare nibs as other people had suggested, however, I haven’t needed to use them yet.”
“I did 2 coats in total (3 in areas that were really bad around the oven and sink) but I still have lots of ink left, enough to make a start on my bathroom!”
“I found the Rainbow grout cleaning pen super effective, quick and easy to use. It made my tiles look brand new. I’ve had so many compliments on my before and after pictures that I posted online.”
How Our Grout Cleaning Pens Work
It’s simple. You can make over any space with these 6 simple steps:
1. Wipe down the grout and ensure it’s clean and dry
2. Shake the pen thoroughly to ensure the ink formula is mixed properly and ready to go
3. Pump and prime the nib on a piece of kitchen roll or newspaper to get the ink flowing (don’t press too hard and ruin the nib – gently does it). This may take 10-20 pumps for a brand new pen
4. Using a firm sweeping motion, draw over your grout with a downward angle to allow continuous ink-flow
5. Wipe away any spills with a damp cloth
6. Allow to dry for 1-2 hours in a well ventilated room before it’s touch-dry and another coat can be applied. Leave for 12 hours without exposing to moisture to allow the formula to fully dry
Try Our Grout Cleaning Pens Out For Yourself
Take a look at the grout pen range here, including the two nib sizes and range of colours including (but not limited to) various shades of grey, classing white, bold black, beige and more!
We love to see your DIY projects using our products. Send us your before and after pictures at info@rainbowchalk.com to feature on our blog and social media!