Sustainable Waste-Free Shop Creates DIY Chalkboard Shop Signage Using Rainbow Chalkboard Paint
Sustainable waste-free shops are taking the world by storm and Rainbow Chalk absolutely love everything they stand for.
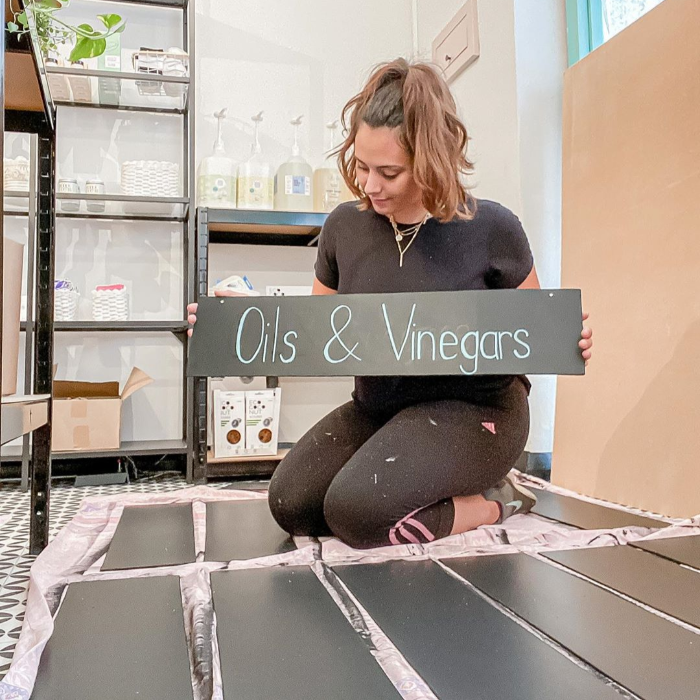
We recently learnt that Sugar & Scoop, a sustainable waste-free shop in Hertfordshire, used our popular Rainbow Chalkboard Paint for all of the shop’s interior signage. The whole renovation was done on a budget by DIY enthusiast, Jasmine, of Oh Abode. And it certainly paid off!
Take a look at Jasmine’s DIY chalkboard Signage and learn how to do it yourself!
What you will need:
- Our chalkboard paint
- A suitable, clean surface
- Chalk markers in whatever colour you like!
How To Make DIY Chalkboard Shop Signage With Chalkboard Paint
If you’re familiar with other Rainbow Chalk products, you’ll already know just how easy-to-use our products are. Our mission is to help you transform spaces both easily and affordably. Oh, and not to mention, without making a mess.
Here’s your step-by-step guide for creating awesome signage:
Step One: Mix The Chalkboard Paint
Stir the paint pot thoroughly to ensure the colour is properly mixed. We recommend doing this with the paint pot on a sheet of newspaper, just in case any spillages occur.
Step Two: Clean Your Surface
Give the surface you are painting a good dusting. The last thing you want is any dust or dirt ruining the texture when dry.
Step Three: Apply The First Coat
Apply an even first coat of paint with help from either a paintbrush or short hair roller. It’s best to use a paintbrush for more intricate pieces and a short hair roller for larger-scale projects.
Step Four: Wait For One Hour
Wait for an hour before deciding if a second coat is needed. This gives the paint enough time to become touch dry, meaning you can handle it and take it into different lights. Doing so will help you to establish whether to go ahead with the second coat.
Step Five: Leave To Fully Dry
Once you are happy with the finished look and have applied as many coats as necessary, leave the sign to dry for three to four hours. This might seem time-consuming, but leaving it for this long will ensure that the paint has fully hardened.
The last thing you’d want is to draw a design with a chalk marker, need to rub something out and discover the paint is still tacky!
Step Six: Grab Your Liquid Chalk Markers!
Now that you have the base of your chalkboard ready, it’s time to get creative. Whether you’re drawing symbols or writing products like Sugar & Scoop, take your time with this step to guarantee perfection. Our Liquid Chalk Markers work excellently on our Chalkboard Paint and come in a huge variety of colours.
Step Seven: Put Your New Signs On Display
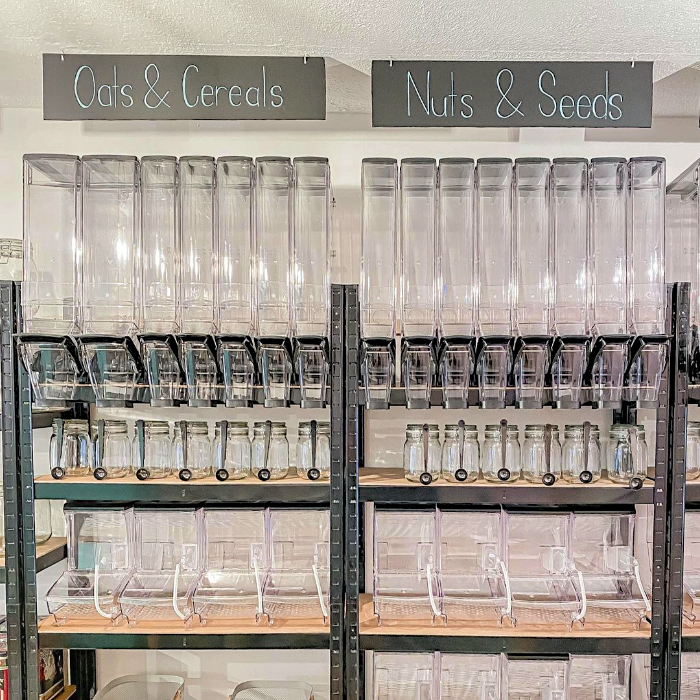
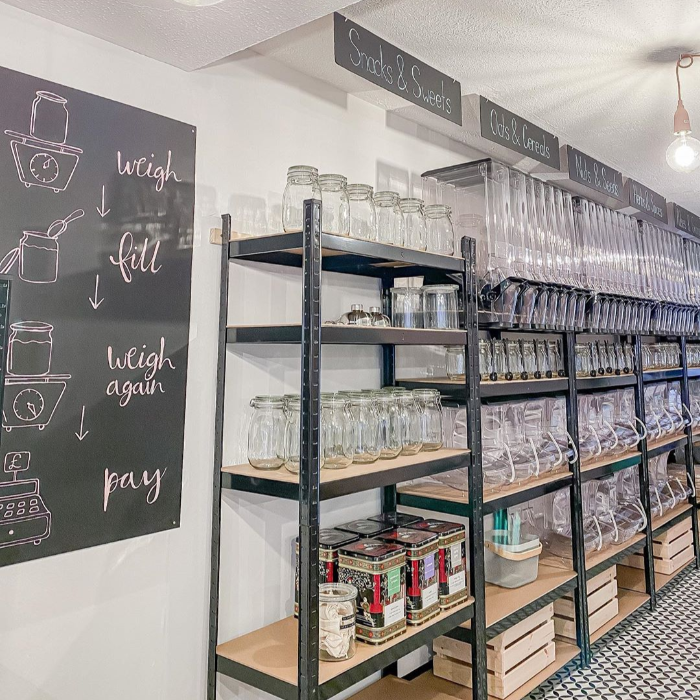
It’s time to show off your beautiful signs in all their glory! Whether you’ve painted a self-standing board or a hanging sign, put your work of art in its new home and admire it from afar.
Sugar & Scoop’s DIY chalkboard shop signage looks AMAZING and gets a thumbs up from us! Click the button below to get your chalkboard paint and don’t forget to tag us on Instagram with your project pictures!