Create Your Own Brilliantly Blue Shabby Chic Bedroom Nightstand!
Summer is almost here which means bright, sunny days are just around the corner, hopefully! Why not spend the summer outside and up-cycle some old furniture in the sunshine? Discover how to create your own brilliantly blue Shabby Chic bedroom nightstand with this blog post.
What you will need:
- A nightstand you want to re-style
- Fine & medium grade sand paper
- A lint free cloth
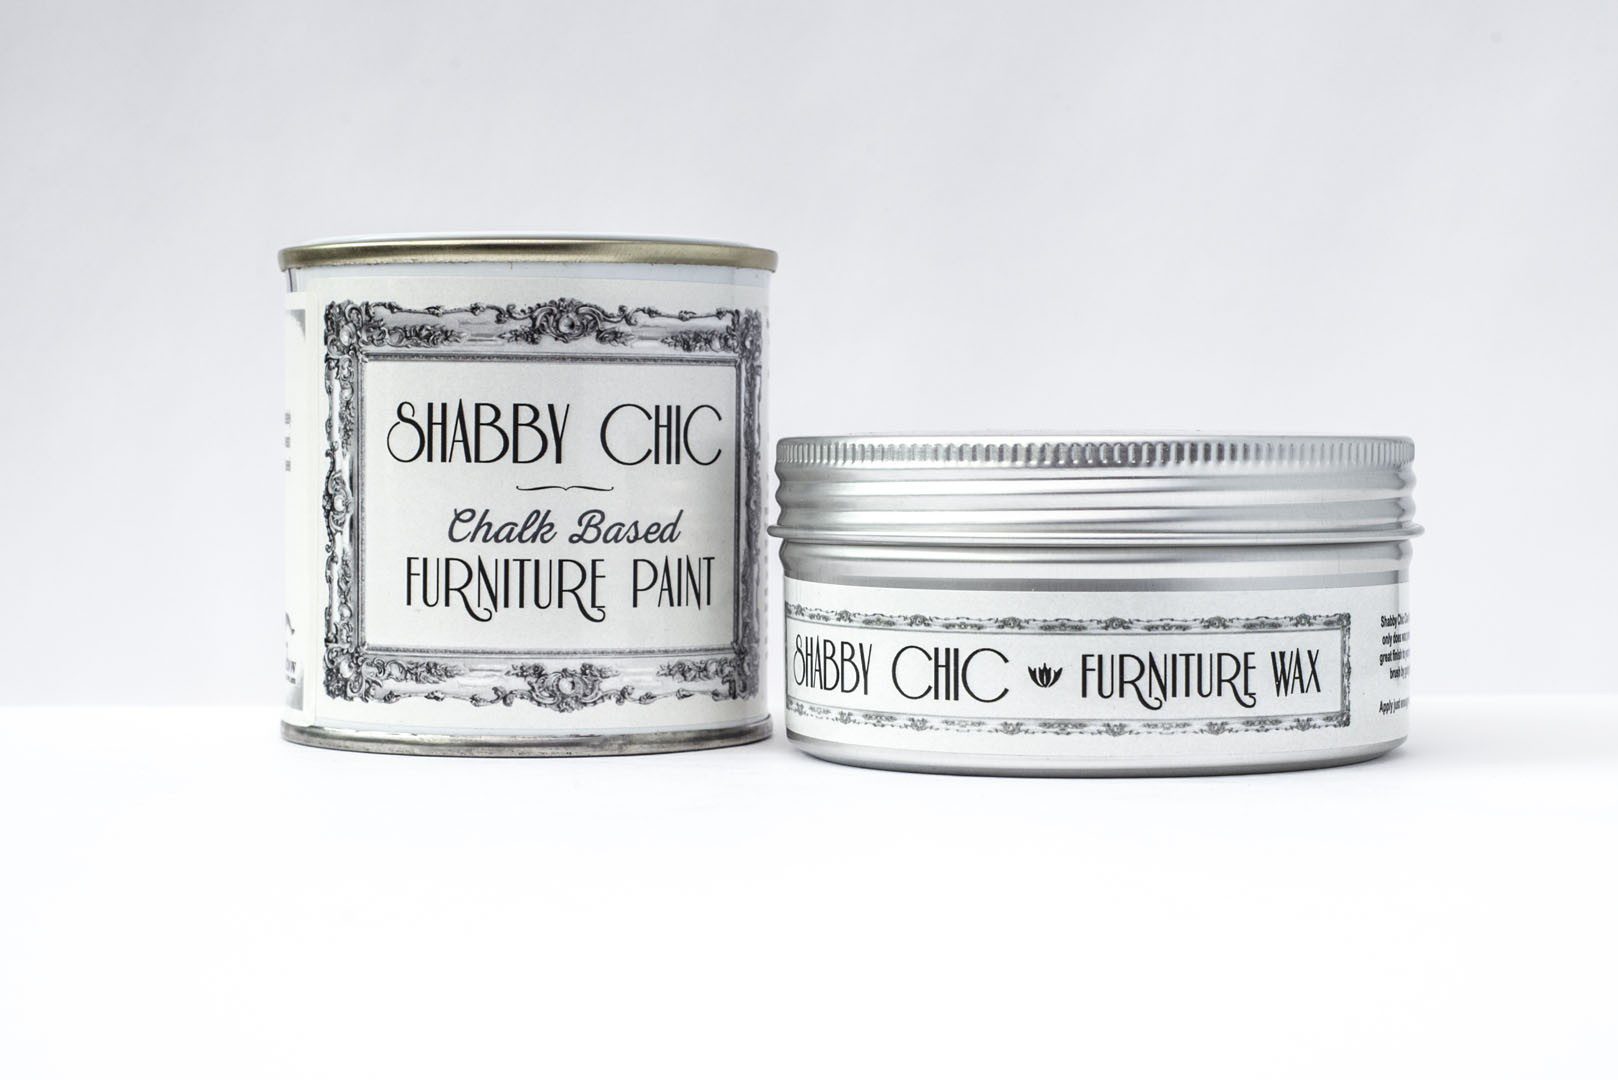
- Rainbow Shabby Chic Furniture Paint
- Paint brushes
- Shabby Chic Furniture Wax
- Old newspaper
- Masking tape to protect any areas you don’t want to paint
How To Create Your Own Shabby Chic Bedroom Nightstand In 8 Simple Steps!
Step 1
Pick a large, convenient space to work. Ideally somewhere bright so you can see your soon-to-be-bluetiful nightstand. Lay newspaper down on the floor of your working space and use tape to stick it down if necessary.
Step 2
Lightly sand down your nightstand with fine grade sandpaper. This will roughen the surface, making it easier for the paint to stick.
Step 3
Once sanded, use a damp cloth to remove any dust or dirt and allow to dry. If you’re lucky with the weather, you can relax in the sunshine while your nightstand soaks up the rays! Remove old paint with a stripper if you wish to, but this is not an essential step thanks to our rich, opaque formula. Unlike other products available on the market, our paint can be applied to wood, plastic, metal, plaster or brick! Once dry, make sure that any section you don’t want to paint is lined with masking tape.
Step 4
Start painting! For a shabbier appearance, we suggest applying 1 to 2 coats of paint. If you’re aiming for a flawless finish, apply 3 coats. Our paint ensures great coverage with its pigmented formula but don’t worry, it’s non-toxic and safe to use:
- in enclosed spaces
- around children
- around animals
To achieve a similar look to the nightstand featured in this blog post, consider using Rainbow Shabby Chic Furniture Paint in shades Dusty Blue, Duck Egg or Cottage Blue. If you fancy another colour, check out our full range of 37 matte and metallic shades – there’s something for everyone!
Step 5
Allow your nightstand to dry for a few hours and ensure that you remove any masking tape with care.
Step 6
Distress to impress! Use your medium grade sand paper to distress your Shabby Chic bedroom nightstand. Focus on corners, legs and areas that would naturally get worn away over time. We suggest starting slow and building up the effect before you commit to creating a very distressed looking nightstand. You don’t want to over-do it at the start with no chance of going back. When you’re happy with the result, use your fine grade sandpaper to blend the paint away.
Step 7
Use your damp cloth to wipe away any excess dust from sanding and use some Rainbow Shabby Chic Furniture Wax to protect your newly up-cycled nightstand. Apply with a thick, short hair brush or dry cloth in a circular motion, buffing in gently. Our wax leaves a sleek, semi-gloss finish that will help to protect the wood and paint over time.
We suggest applying wax the following day to ensure the paint has fully set.
Step 8
Finally, gloat to your friends about your new DIY Shabby Chic bedroom nightstand! Send us a before & after picture on Facebook if you want us to feature your new nightstand on our blog!
Turn Your Home Into A Shabby Chic Palace!
If you enjoyed this DIY, check out this blog post which shows you how to create your own Shabby Chic wardrobe! Find the perfect blue for your shabby chic bedroom nightstand using the product boxes below. Or to explore the full range of Rainbow Shabby Chic Furniture Paint, click here! Choose from a matte or metallic finish that can be used on wood, plastic, plaster, brick or metal.
First time buyers can get 10% off if they enter “ftb10” at the checkout!

Dusty Blue Shabby Chic Furniture Paint
£12.55 – £26.95 incl. VAT


Duck Egg Shabby Chic Furniture Paint
£12.55 – £26.95 incl. VAT

Cottage Blue Shabby Chic Furniture Paint
£12.55 – £26.95 incl. VAT


Shabby Chic Furniture Wax
Original price was: £12.99.£8.99Current price is: £8.99. incl. VAT