Affordable, DIY Shabby Chic Wardrobe Tutorial
Enjoy this guest blog post from one of our customers, Alex from Southend-on-Sea, as she explains how she used our furniture paint to create a Shabby Chic wardrobe!
I recently moved out for the first time and, although I wanted to buy some new furniture, my bank account wasn’t having it!
So I decided to up-cycle the furniture I already had and created a Shabby Chic style wardrobe using Rainbow’s chalk paint.
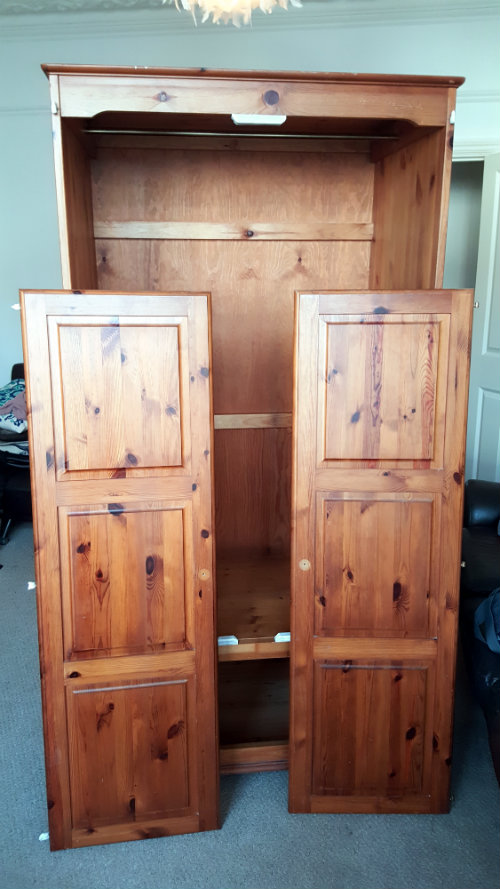
My plain, wooden wardrobe was a hand-me-down that had been in the family for years and it didn’t match the grey theme I wanted in my new dressing room…
It was also a bit battered, with visible scratches and scuffs – I really didn’t want to bring it with me!
Choosing The Colours For My Shabby Chic Wardrobe
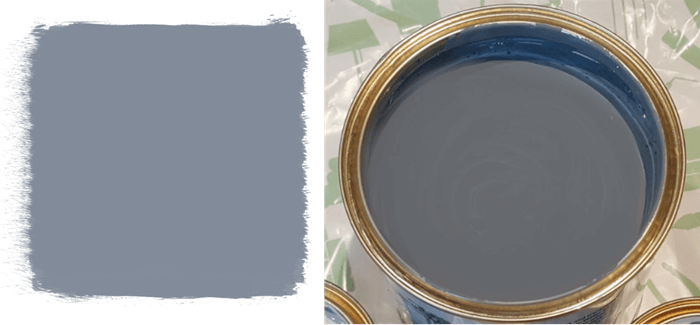
I decided on 1ltr of Pebble Grey as my primary base colour. This is what the colour looks like online vs in real life – very accurate I’d say!
I also wanted to take advantage of the square panels on the doors and add another colour so I picked 250ml of Winter Grey. Here’s a comparison of this colour online vs in real life:
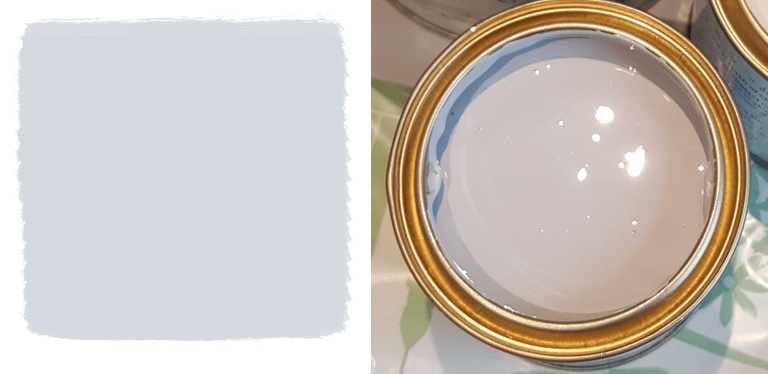
It was evident I was working with chalk paint from the moment I popped the lid because there were lovely chalk white swirls running through the paint that had to be mixed together before use.
I would say both paints were identical to the online swatch when dry.
Prepping My Wardrobe Before Painting
As I mentioned earlier, the old wardrobe was a bit worse for wear…so there were a couple of extra steps that had to be taken before painting:
- roughly sanded it with a light-grade sandpaper
- wiped away the dust with a damp cloth
- removed door knobs (I had new ones to add later)
- added masking tape to any areas that I didn’t want to paint (like the metal hanger rail)
Sanding isn’t necessary but I wanted to reduce the visibility of the dents and scratches so my finished shabby chic wardrobe looked immaculate!
Painting The Base With Pebble Grey
I asked my boyfriend to help me paint so we could get it done quicker. After a few brush strokes we both turned to each other and agreed that this paint was lovely to work with! It glided on beautifully and made for a relaxing, therapeutic activity.
The Pebble Grey paint was thick and left a lovely chalky finish after the first coat!
I was convinced we could have left it after the first coat but I decided to go in with the paint brush again 3 hours later when the first coat was dry.
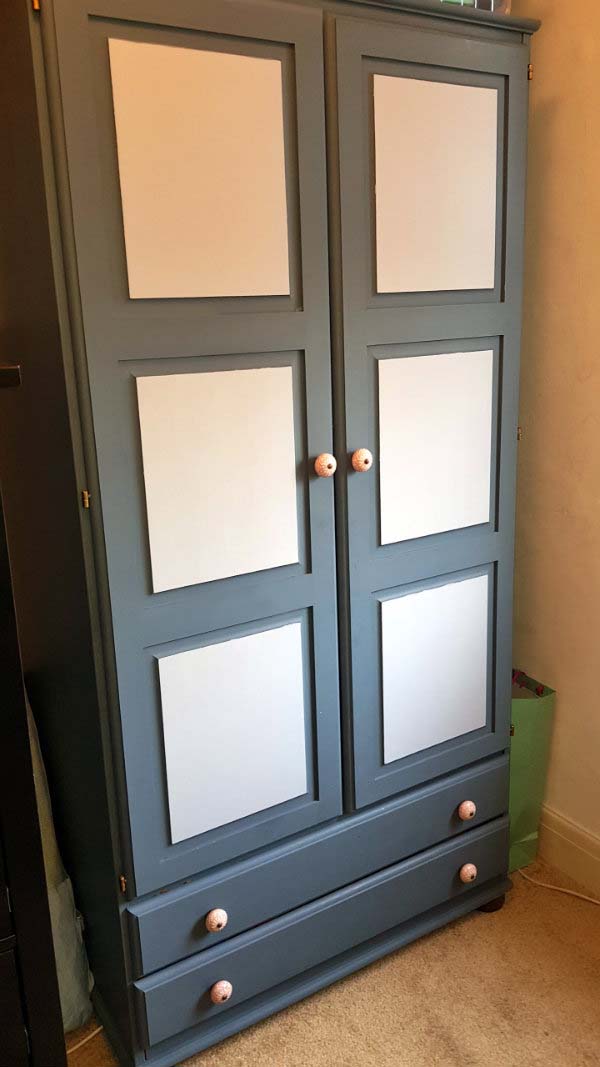
The finished result after 2 coats was amazing – I didn’t recognise my wardrobe at all.
Painting The Panels With Winter Grey
I decided to leave this part until the next day when I was sure the 2 coats of Pebble Grey were completely dry.
I used masking tape and outlined the rectangular panels to avoid going over the edges (although this didn’t work as well as I had hoped because I wasn’t precise enough when applying the tape – take your time on this stage if you want a perfect result!)
Then I used a smaller brush to paint the Winter Grey furniture paint on.
I found that this shade wasn’t as opaque on the first coat, but I put this down to the fact that it was a lighter shade going over a dark shade.
I used 3 coats of Winter Grey on the door panels to get the results I desired. (This pic is taken in low artificial light when the paint was still drying)
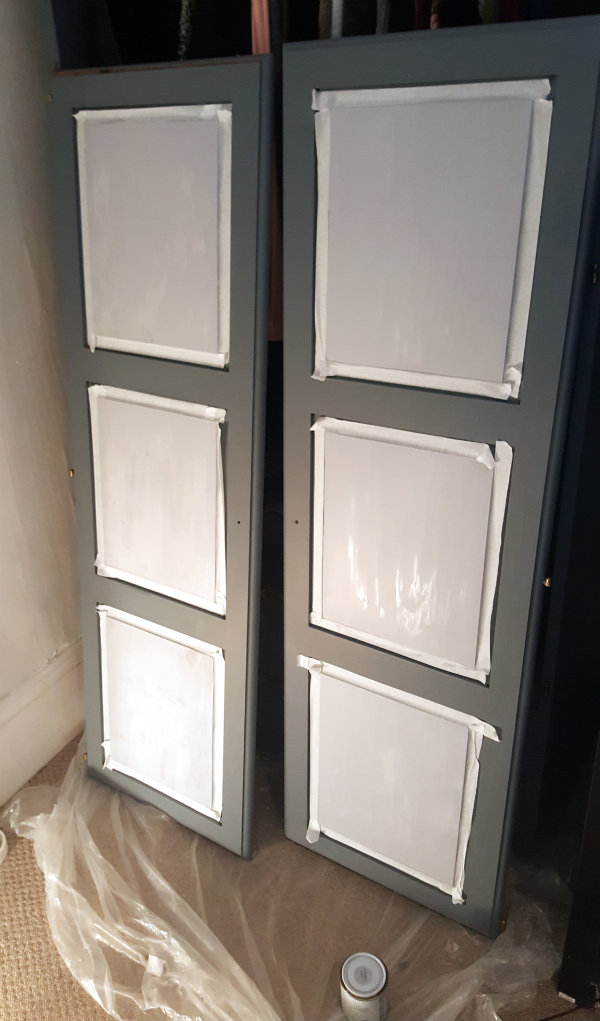
When the paint was dry I carefully peeled away the masking tape.
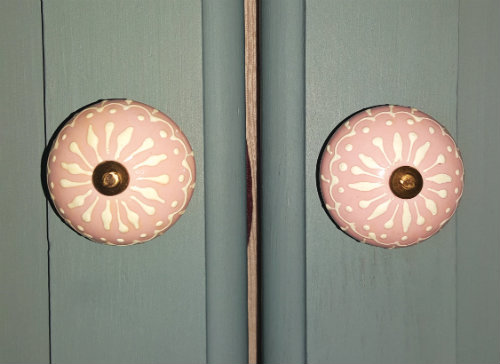
The Finishing Touches
I attached the new hand-painted knobs I got from an antique shop in Leigh-on-Sea and they pulled the whole look together – my shabby chic wardrobe was complete!
Overall Impression Of Rainbow Chalk Paint
I loved the Rainbow Chalk Shabby Chic Furniture Paint and would definitely use again.
There’s no pungent chemical smell like some other furniture paints and the consistency is a dream. It’s almost like working with a thick, creamy yogurt!
The paint washed out of my brushes easily and the best part is I still have just under half of my 1ltr pot of Pebble Grey left -result!!
Here’s what my finished shabby chic wardrobe looks like in my dressing room:
Start Your Shabby Chic Project Now!
FIRST TIME BUYERS GET 10% OFF WITH CODE “ftb10” <— enter it at the checkout!!!
Thanks Alex, Rainbow love your shabby chic wardrobe!
To buy the colours featured in this post, scroll down and add them straight to your basket using the product boxes below. Or click here to see all 37 of our matte and metallic shades!
If you want the chance to be featured on our blog, send your article and pictures to info@rainbowchalk.com


Pebble Grey Shabby Chic Furniture Paint
£12.55 – £26.95 incl. VAT

Winter Grey Shabby Chic Furniture Paint
£12.55 – £26.95 incl. VAT